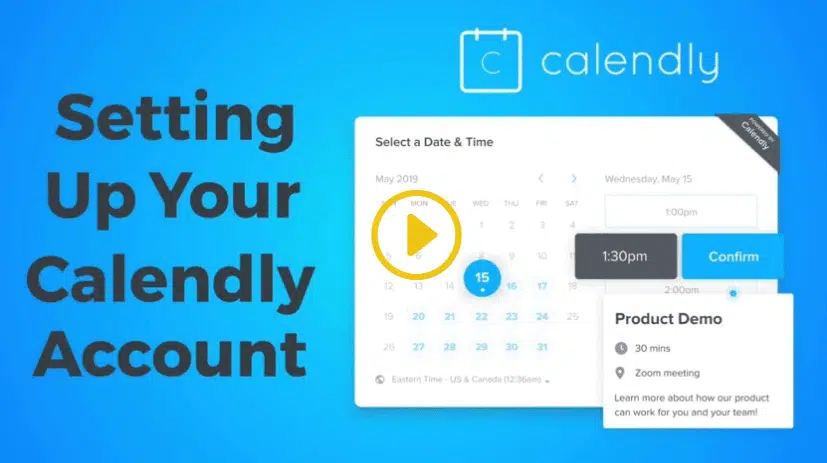
Click this link to access the Calendly website
Introduction

If you’re looking to simplify appointment scheduling, setting up your Calendly account is an essential step. This guide will help you navigate the process of getting your profile ready in no time.
Step 1: Sign Up for Your Account
Visit the official Calendly website and select the Sign Up option. You can register with your email or link your Google or Microsoft account for a quicker setup.
Step 2: Confirm Your Email
Once registered, Calendly will send you a confirmation email. Click the link provided in that email to activate your account.
Step 3: Set Availability
After activation, it’s time to set your available hours. Navigate to the availability settings and tailor your schedule so Calendly can identify your free time for meetings.
Step 4: Sync Your Calendar
Calendly integrates effortlessly with popular calendars such as Google Calendar, Outlook, and Apple Calendar. Sync your calendar to let Calendly automatically manage any scheduling conflicts.
Step 5: Create Your Initial Event Type
On your dashboard, create an event type (for instance, a 15-minute intro call or a 30-minute consultation). This platform enables you to adjust duration, location, and additional details accordingly.
Step 6: Share Your Calendly Link
Once your event is created, share your link via email, on your website, or through social media channels. This allows clients or colleagues to effortlessly book time directly in your calendar.
Step 7: Test the Booking Page
Before launching, ensure you test your booking page to confirm it operates seamlessly. Verify that all time slots, confirmation messages, and calendar integrations are functioning correctly.
Conclusion

Establishing your Calendly account is a quick and efficient method to enhance your scheduling efficiency. Just a few simple steps, and you’ll be ready to schedule appointments and optimise your workflow.
???? Looking for assistance with your digital presence?
We offer:
???? Contact us today to boost your brand online.
???? [Book a Call Now] with our Auckland-based WordPress development team.


